Subtitled: the Never Ending Cabinet project.
February 1, 2020
My game / work room looks like it is under construction! I have had to take a break from hosting games for the last few weeks first due to a flu bug then an ever growing construction project to add two new glass shelves to my pine cabinet. The project began in late January 2020, although I had purchased the shelves and doors around January 2019. It is amazing how much time it takes and mess it creates to add new shelves, especially when a router is involved to shape the wood to hold the shelves. I of course had to empty the cabinet and you can hardly see my game table as it is covered with the contents of the three shelves. I now have five shelves, including the two new glass ones but the supports need staining, and finding a matching stain for a 30+ year old knotty pine cabinet is a challenge! Next I plan to add on some Ikea Morliden glass doors while I have everything off the shelves. |
| Cabinet contents on my game table, you can see the cabinet shelves that have been installed on the unfinished supports in the background |
Despite all this I did manage to get a game of SAGA Crusades on Sunday February 2nd at my local club (OMG) and will post a short AAR when I get the time.
February 5th
The wood supports for the shelves and metal brackets to hold them plus the overhead beam to shrink the opening size were bought during the last weekend of January 2020 but they need to have grooves cut in them to hold the shelves. |
| Unvarnished shelf supports cut using a router. |
February 8th and 9th
 |
| Staining the new parts which involved mixing stains to get the correct colour match |
February 15
I am very pleased with the match I achieved with the pine beam added at the top to accommodate the Ikea glass door height. |
| Shelves and spacer beam at the top. |
February 16, 2020
I have made progress but some new problems that will mean a another trip to the DIY store and more cutting and staining. The Ikea Morliden doors were a real pain to install and not as adjustable as I hoped leaving me a gap to fill. |
| The doors are on but, there is a gap in the centre. |
I had hoped the doors could be moved enough using the hinges to fill the gap but they only moved 1/8" on each side so the gap went form 1 1/8" to 7/8". I will set it to a 1" gap as that is easier to deal with. The gap means a trip to the DIY store likely to get another pine beam to create a centre piece (vertical bar) to fill the gap. It will need to have notches cut in it for the wooden shelves and be stained and varnished.
However a wooden beam in the middle is not ideal as it will interfere with removing large objects.
The DIY store associates came up with a better idea - add two strips of 1/2" thick aluminum trim to the each door sides/ edges to fill in the 1" gap. I glued the aluminum strips to the doors with metal weld epoxy glue, and used masking tape as clamps, it was a messy job.
 |
| Aluminum extension glued with epoxy on to the side of the door and clamped with masking tape as the epoxy sets. |
I tried to wipe off as much epoxy as possible but it was not possible to get it all due to the masking tape. It took 15 hours to fully cure and appears to have created a very strong bond.
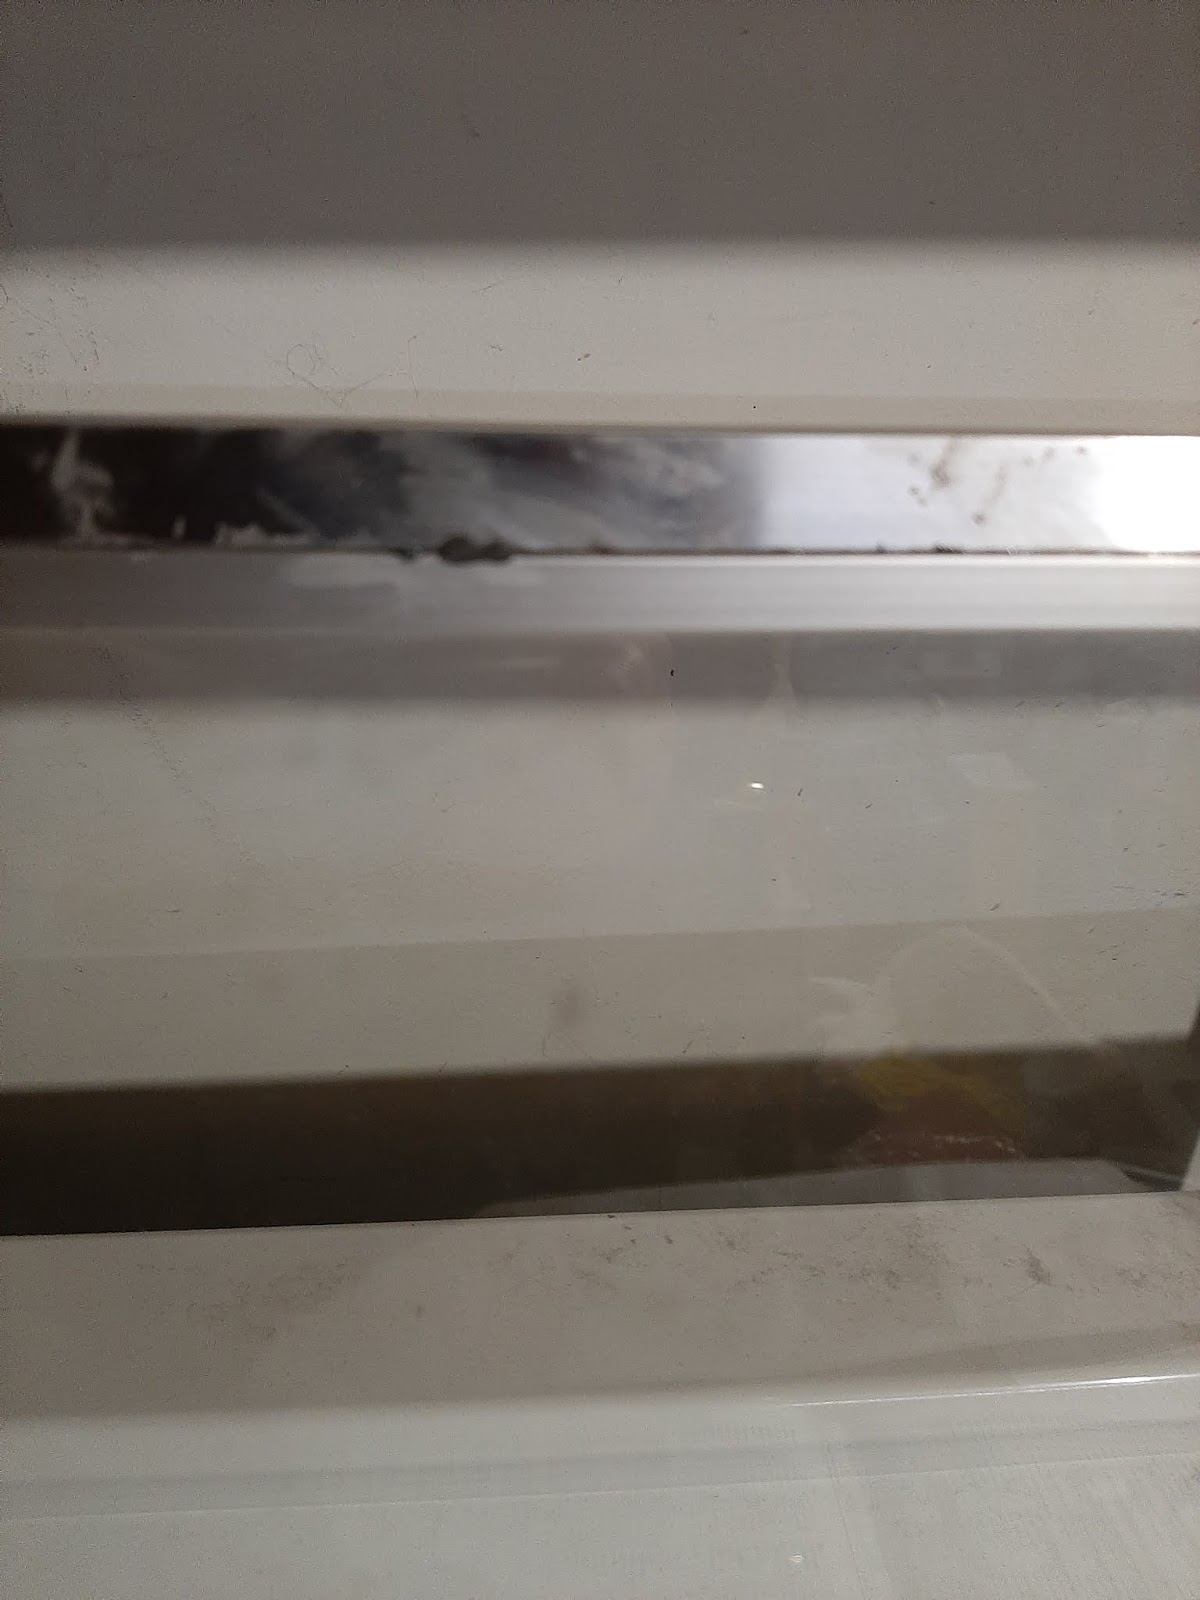 |
| Dark Grey excess epoxy to be removed |
The dried on epoxy will have to be cleaned off with a combination of grinding, filing, sanding (200, 400 grit) and steel wool (00) with extra fine steel wool (0000)to finish it off.
 |
| Epoxy to be removed. |
February 18, 2020
I managed to remove all the dark grey epoxy that was in highly visible areas, it was very hard and took a lot of work to remove, involving sanding with a Dremel, wet and dry sandpaper (220 and 400 grit) and steel wool 00 and 0000.. Unfortunately some of the epoxy got on the actual door frames and removing it took off some of the flat finish / oxidation. |
| Spots where the finish was removed.. |
February 19, 2020
I don't think I would ever buy those Morliden doors again, they are very fiddly, it took 3 hours tonight to get them on the cabinet and aligned. I lost count of the number of times the left door was put on and then one of the hinges sprung loos as it was being adjusted for height and the entire door had to be taken off and the process started over.The addition of the aluminum trip pieces closed the gap between the doors successfully.
 |
| The doors are finally on and there is no gap where they meet now but... |
After all that work I discovered the aluminum trim extension additions did not match up flush, the one on the he right door is shorter than the door height, it was meant to be at the bottom where the gap would not show and there was an equal gap on the left door extension (see picture). I will have to glue on an extra 1/4" extension piece of aluminum to fill the gap. Will the frustration ever end? Now I know why I put this miserable job off for over a year.
 |
| Gap on top of right door. |
February 20, 2020
Gluing on the extension - it took an hour to file down the aluminum trim extension piece and while it perhaps could have used some more filing to make it even thinner it is close enough . Once the epoxy is fully cured in 24 hours I will sand off the excess glue, do a little more filing and perhaps apply some aluminum paint. |
| Gap filled with extension piece. |
Considering how long this has taken I am not sure if I want to add the planned interior lights as this will involve more complications trying to drill holes for the wires in a confined space where the drill may not fit and I want this project to end ASAP as I have a game to run on the weekend. On the other hand if the lights don't get put in before the cabinet is filled it may not ever happen.
February 21, 2020
The sanding with wet 180, 220 and 400 grit sand paper followed by 00 and 0000 steel wool mad the extension blend in a bit more. Ammonia applied with a green scouring pad helped to oxidize the freshly polished areas to allow them to blend in. Perhaps later on I will add some epoxy putty to fill in the small crack at the join and paint it over with some aluminum paint. Time to move on to the lights tomorrow. |
| Extension after sanding, door handles added. |
February 22, 2020
The glass shelves were temporarily removed and the LED lights installed. It of course took longer than expected as it was awkward drilling upside down as the wooden shelves were not removable. Got the four lights installed but did not have time to drill holes in the back panel to hide the wires by having them run them behind the cabinet to the outlet and to a switch. |
| The new lights |
 |
| Let there be light! |
February 26, 2020
This evening we secured the LED lighting wire to undersides of the shelves and drilled 11/32" holes in the backboard plywood for the wires to exit behind the cabinet to go to he LED junction box and then to an electrical outlet. The wires also needed to be secured to the wall. No real problems doing this other than the pine shelves seemed very hard and it took a lot of hammering to get the nails in for the wire holders. Also installed the on / off switch on the wall to the left of the cabinet on a hook on the wall (unfortunately the Ikea switch could not be attached to a flat surface). |
| Wire holder |
 | |
| Cabinet with lighting wiring installed |
 |
| Cabinet with large 28mm scale figures and vehicles back inside |
I thought the job was now done, but one further complication arose, the aluminum doors mean that I can no longer open the lower wooden doors form the top so I will need to get some door pulls / handles to match the aluminum for the wooden doors. A job for the weekend as I will need to buy some.
February 29, 2020
So much for the final part of the job of attaching two door handles to the lower wooden doors being quick and simple. I bought some "Satan brushed nickles" metal handles that were a good match and started to install them but after drilling holes for the bolts and one of the bolts broke off at the head in the wood during installation. It was a struggle to get the broken bolt out of the wood and the entire handle set will have to be returned and exchanged due to the poor quality bolt, likely bumping this project forward to next month.March 1, 2020
I exchanged the handles with the defective broken bolt and installed the handles. No broken bolts this time. The handles look good, other than a small blemish in the stain to the left of the right top handle caused during installation that needs a stain touch-up. |
| New Handles added to lower wooden doors, small blemish in stain needs to be touched up near the upper right handle. |
The project is finally finished!!!!
 |
| Finished cabinet |
No comments:
Post a Comment